Step-by-Step SOP for Running a Small Poultry Hatchery in Kenya
Running a small poultry hatchery using an incubator is one of the most practical agribusiness ventures for beginners in Kenya. With proper management, a small 204-egg incubator can hatch chicks every 21 days and supply poultry farmers with healthy day-old or brooded chicks.
This Standard Operating Procedure (SOP) explains the daily, weekly, and incubation cycle activities required to run a small hatchery successfully.
1. Hatchery Setup and Preparation
Before starting operations, ensure the hatchery environment is clean, well ventilated, and protected from pests.
Basic hatchery requirements
- Egg incubator (204 egg capacity or similar)
- Backup power source (UPS or solar if possible)
- Egg trays
- Egg candler
- Thermometer and hygrometer
- Chick brooder
- Chick feeders and drinkers
- Disinfectants
- Clean water supply
Hatchery room conditions
- Temperature: 20–25°C
- Clean and dry environment
- No direct sunlight on the incubator
- Good airflow but no strong drafts
2. Sourcing and Handling Fertile Eggs
The quality of eggs determines the hatch rate and chick health.
Egg sourcing options
- Own breeder flock
- Buy fertilized eggs from farmers
Typical price in Kenya:
KSh 18–25 per egg
Egg selection criteria
Good hatching eggs should be:
- Clean
- Medium sized
- Normal shape
- Not cracked
- Less than 7 days old
Avoid:
- Dirty eggs
- Very large or very small eggs
- Eggs stored longer than 10 days
Egg storage before incubation
Store eggs:
- Pointed end down
- Temperature: 15–18°C
- Maximum storage period: 7 days
3. Incubator Preparation
Before placing eggs in the incubator:
Step 1: Clean the incubator
Use disinfectant to sanitize:
- Egg trays
- Interior surfaces
- Water trays
Allow it to dry completely.
Step 2: Run the incubator empty
Operate the incubator for 6–12 hours before loading eggs.
Check that:
- Temperature stabilizes at 37.5°C
- Humidity stabilizes at 50–55%
- Egg turning system is working properly
4. Egg Setting Procedure (Day 0)
Steps
- Place eggs pointed end down
- Load eggs evenly on trays
- Close incubator properly
- Record the incubation start date
Maintain:
- Temperature: 37.5°C
- Humidity: 50–55%
Most modern incubators turn eggs automatically every 2 hours.
Egg turning prevents embryos from sticking to the shell.
5. Daily Monitoring Routine
The incubator should be checked at least three times per day.
Morning check
- Confirm temperature is stable
- Confirm humidity levels
- Ensure egg turning system is functioning
- Check water trays
Afternoon check
- Refill water trays if necessary
- Inspect for abnormal smell or cracked eggs
Evening check
- Confirm temperature stability
- Ensure incubator remains closed and secure
Record readings in a hatchery logbook.
6. Egg Candling Procedure
Candling allows you to check embryo development.
First candling — Day 7
Remove eggs briefly and candle using a flashlight.
Fertile eggs will show:
- Red veins
- Dark embryo spot
Remove eggs that are:
- Clear (infertile)
- Rotten
- Leaking
Second candling — Day 14
Remove eggs that show:
- Dead embryos
- Abnormal development
This improves hatch success.
7. Lockdown Stage (Day 18)
At day 18, eggs enter the hatching stage.
Steps
- Stop egg turning
- Increase humidity to 65–70%
- Avoid opening the incubator
Eggs are now ready for hatching.
8. Hatching Stage (Day 20–21)
Chicks begin breaking shells around day 20 or 21.
Important rules
Do NOT:
- Open the incubator frequently
- Help chicks break shells unless absolutely necessary
Chicks should remain inside until:
- Completely dry
- Fluffy
This usually takes 6–12 hours after hatching.
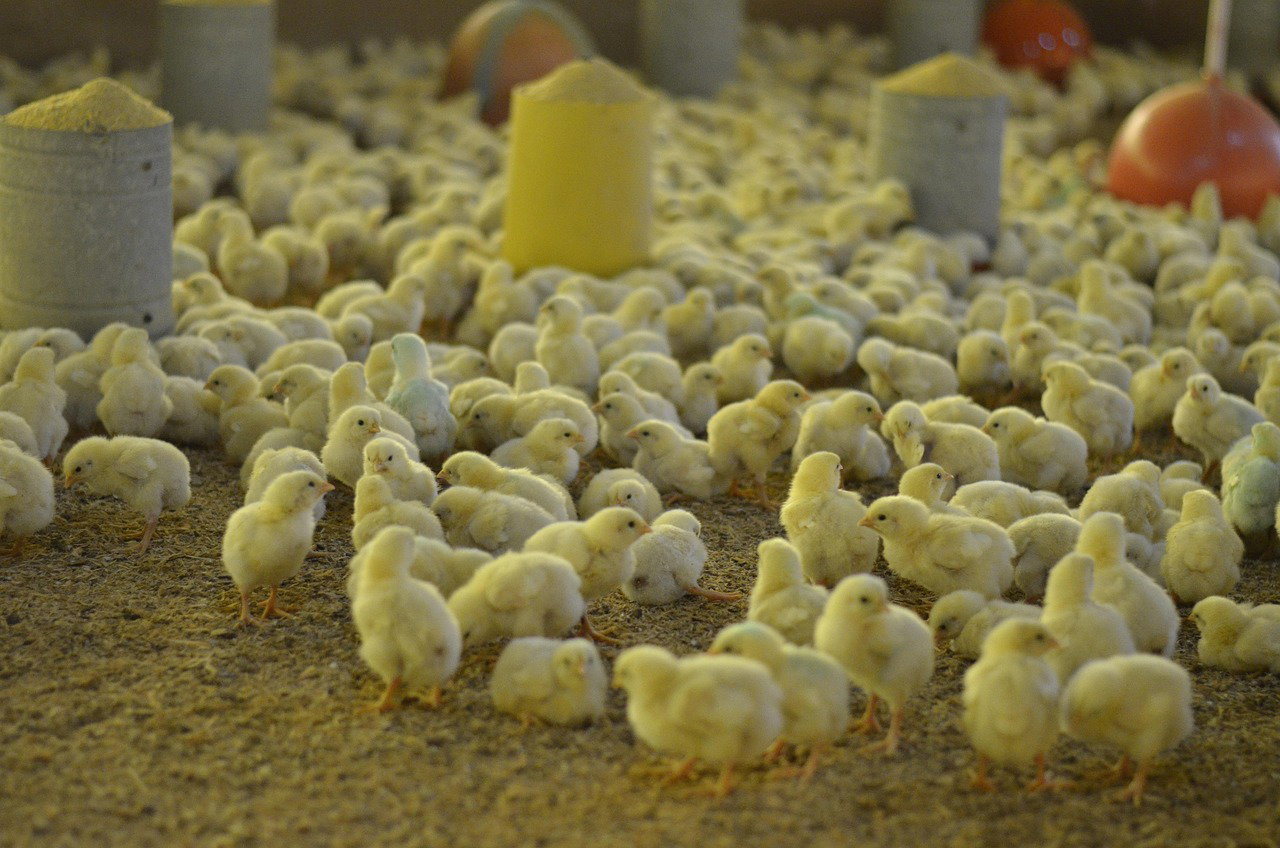
9. Moving Chicks to the Brooder
Once dry, chicks are transferred to the brooder.
Brooder conditions
Temperature guide:
| Age | Temperature |
|---|---|
| Week 1 | 32–35°C |
| Week 2 | 29–32°C |
Brooder setup
- Clean bedding (sawdust or wood shavings)
- Chick feeders
- Chick drinkers
- Heat source (bulb or gas brooder)
10. Feeding and Care
First feed
Provide:
- Clean water immediately
- Chick starter feed after a few hours
Typical feed type:
Chick starter mash
Vaccination
Recommended vaccines:
- Newcastle disease
- Gumboro
Follow veterinary advice.
11. Sorting and Sales
Chicks can be sold at different ages.
Typical Kenyan market prices:
| Age | Price |
|---|---|
| Day-old | KSh 100 |
| 1 week | KSh 150 |
| 2 weeks | KSh 200 |
Keep chicks healthy and active to maintain good customer reputation.
12. Cleaning and Biosecurity
Biosecurity is critical for a hatchery.
After every hatch
Clean:
- Incubator trays
- Hatchery room
- Brooder area
Disinfect all equipment before the next batch.
Basic biosecurity rules
- Limit visitors
- Use footbaths
- Wash hands before handling chicks
- Remove dead chicks immediately
13. Record Keeping
Maintain records for:
- Number of eggs set
- Number of eggs fertile
- Number of chicks hatched
- Mortality rates
- Sales
These records help improve hatch rates and profits.
14. Ideal Hatchery Cycle Schedule
Typical hatch cycle:
| Day | Activity |
|---|---|
| Day 0 | Set eggs |
| Day 7 | First candling |
| Day 14 | Second candling |
| Day 18 | Lockdown |
| Day 21 | Hatching |
This cycle repeats every three weeks.
15. Key Success Tips for Small Hatcheries
Successful hatcheries focus on:
Consistent temperature control
Even small fluctuations reduce hatch rates.
Quality eggs
Poor eggs mean poor chicks.
Clean environment
Disease spreads easily in hatcheries.
Reliable customers
Build a network of poultry farmers.
Final Thoughts
A small poultry hatchery using a 204-egg incubator can produce over 300 chicks per month when operated efficiently. With good egg sourcing, proper incubation management, and reliable customers, the hatchery can become a steady income stream for rural and urban entrepreneurs in Kenya.