How to Start Layer Poultry Farming in Kenya: The Ultimate Beginner’s Guide
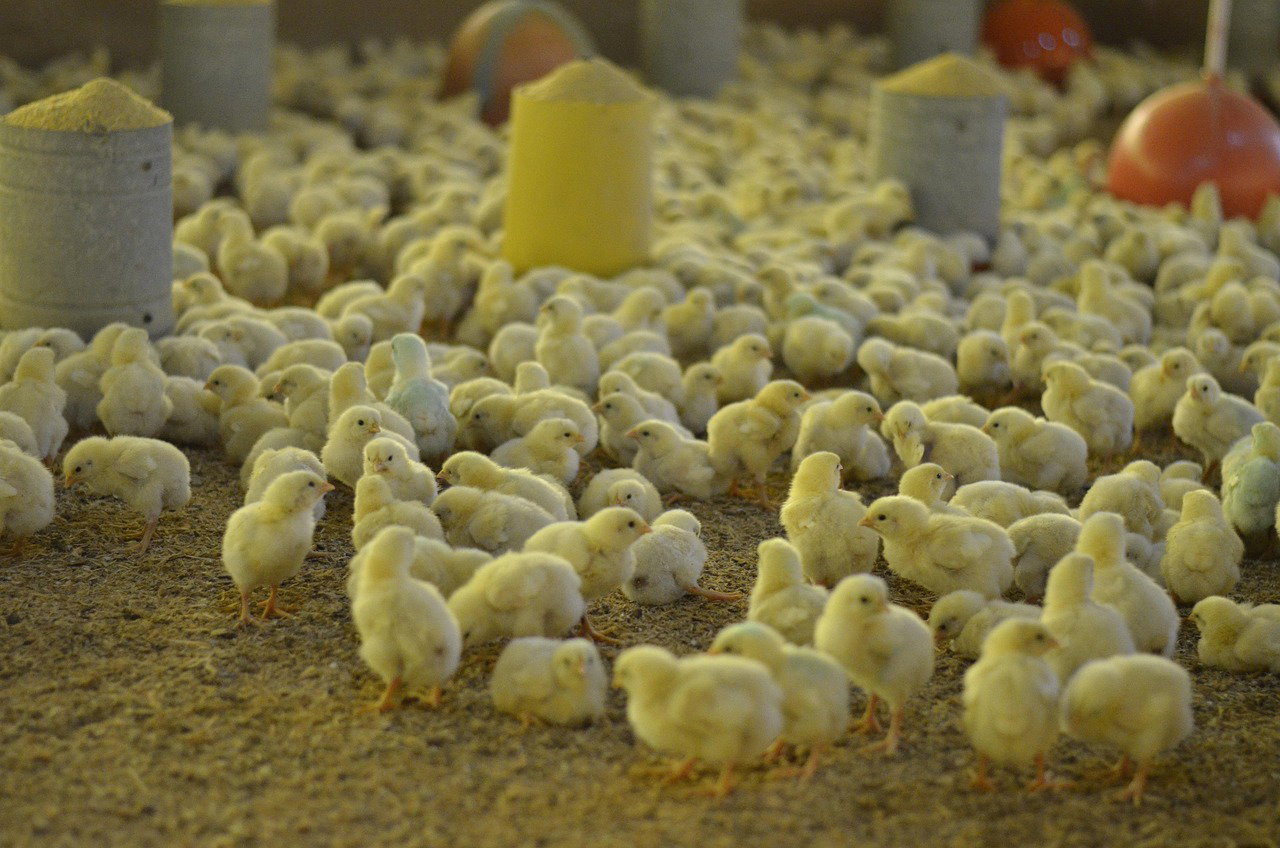
Starting a layer poultry business in Kenya is one of the most reliable ways to generate consistent, daily agricultural income. Unlike broiler farming where you sell the meat once and start over, a healthy flock of layers will produce eggs for you every single day for up to 70 to 80 weeks.
However, many beginners fail in their first year because of one simple mistake: treating the early days casually. The first 4 weeks of a chick's life, known as the brooding phase, dictate your entire flock's multi-year egg production and profit margins. If you get the foundation wrong, no amount of expensive feed later will fix it.
This comprehensive guide walks you through the foundational steps of layer poultry farming in Kenya: sourcing the right genetics, understanding current prices, and mastering the delicate art of chick brooding.
1. Sourcing Quality Genetics: Where to Buy & Prices
Never buy layer chicks from uncertified brokers or backstreet hatcheries just because they are offering a cheap deal. In poultry farming, cheap often means high mortality rates or birds that eat your feed for five months without ever laying an egg.
You need commercial layer breeds that have been genetically optimized strictly for high egg yields, excellent feed conversion ratios, and disease resistance. Popular breeds in Kenya include Isa Brown, Lohmann Brown, and Hy-Line.
Top Trusted Hatcheries in Kenya
To guarantee you are getting genuine, vaccinated commercial layers, buy directly from certified distributors or hatcheries such as:
- Kenchic (The largest poultry distributor in East Africa)
- Isinya Chicks
- Muguku Poultry Farm
- Neochicks Poultry
Day-Old Chicks Price Estimates (2026)
Prices fluctuate slightly based on feed costs, parent stock availability, and demand, but the current market baseline for certified day-old commercial layer chicks ranges between Ksh 100 and Ksh 120 per chick.
⚠️ Pro-Tip: Always book your chicks at least 2 to 4 weeks in advance with these hatcheries. Demand is consistently high, and walk-in purchases are rarely available.
2. Setting Up the Perfect Brooder (Weeks 1–4)
A "brooder" is a heated, protected enclosure designed to mimic the warmth and safety a mother hen provides. Because day-old chicks are covered in down feathers rather than true feathers, they cannot regulate their own body temperature.
Before your chicks arrive at the farm, your brooder must be completely set up, disinfected, and pre-heated for at least 24 hours.
                  [ THE BROODER RING SETUP ]

                     ____________________
                   /                      \
                  /     O  O  O  O  O      \
                 |    O               O     |
                 |   O     [HEAT]      O    |
                 |   O    [SOURCE]     O    |
                 |    O               O     |
                  \     O  O  O  O  O      /
                   \____________________/

    * Circular wall prevents chicks from piling up in corners.
    * Feeders and drinkers placed evenly around the heat source.
Brooder Infrastructure Checklist
- The Shape (Circular Is Key): Use hardboards, plywood, or heavy-iron sheets to create a circular brooder ring. Never build a square or rectangular brooder. When chicks get cold or startled, they naturally run to corners. In a square room, they will pile on top of each other in corners, leading to mass death by suffocation (crowding).
- The Litter (Floor Covering): Lay down a 3-inch layer of clean, completely dry wood shavings on the floor. This acts as insulation against cold concrete and absorbs moisture from droppings. Never use sawdust. Sawdust is too fine; chicks will mistake it for food, eat it, and suffer fatal crop impaction (clogged digestive tracts).
- Heat Sources: You can use infrared heat bulbs (1 bulb per 50-100 chicks), gas brooders, or charcoal jikos. If using a charcoal jiko, ensure it is properly lit outside until it stops emitting black smoke before bringing it inside to prevent carbon monoxide poisoning.
3. Temperature & Chick Behavior Management
The exact temperature inside the brooder during the first week should be 32°C to 35°C at chick level. You can lower this temperature by roughly 2°C every subsequent week as the chicks grow true feathers.
While a thermometer helps, the best way to monitor temperature is to watch how your chicks behave relative to the heat source:
| Chick Behavior | Meaning | Required Action |
| Crowding directly under or touching the heat source | They are too cold. | Increase heat or lower the heat lamps. |
| Scattering to the extreme edges/walls away from the heat | They are too hot. | Reduce heat, raise lamps, or open ventilation slightly. |
| Huddled together in one single clump on one side | There is a cold draft cutting through. | Check the walls for air leaks/gaps and seal them immediately. |
| Evenly distributed, eating, drinking, and chirping softly | The temperature is perfect. | Maintain current settings. |
4. The "Arrival" Protocol: First 24 Hours
The day your chicks arrive at the farm is the most critical operational day. They have likely traveled in transit, making them dehydrated and highly stressed.
Step-by-Step Arrival Routine
- Count and Inspect: Count the chicks as you gently transfer them from the transport boxes into the brooder. Check for physical defects, unhealed navels, or dullness.
- Hydration First (The 2-Hour Rule): When chicks enter the brooder, do not give them food immediately. Their bodies need water first to process food. Provide lukewarm water mixed with glucose (for an instant energy boost) and liquid poultry electrolytes/anti-stress vitamins.
- Introduce Chick Start Mash: Two hours after they have had a good drink of water, scatter high-quality Chick Start Mash onto shallow tray feeders or even onto clean newspapers spread on the floor. This makes it incredibly easy for them to find the feed.
Keep a strict eye on them for the first 48 hours to ensure every single chick learns where the water and food are located. By mastering this initial 4-week phase, you will secure low mortality rates and set your flock on a direct path toward maximum egg production.